The Project - DIY Modular Analog Synth #1
Photo credit: Wikimedia Commons
One of my biggest problems is falling in love with too many things. This is especially true when talking about music instruments: it is very hard to find an instrument I don’t desire.
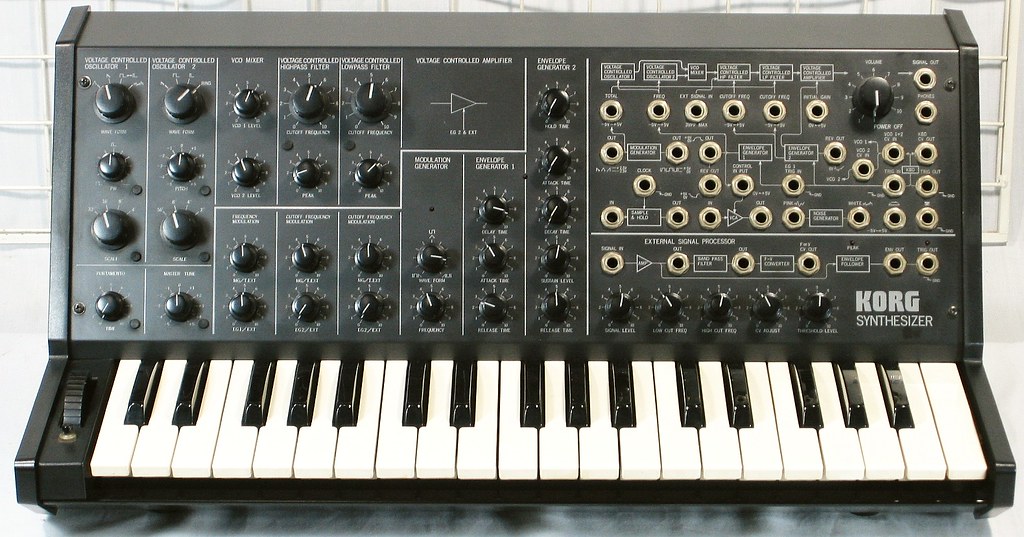
Recently I’ve had the chance to try a Korg synthesizer in a music store and I fell for it. I’ve always been interested in analog synths and that experience made me understand my need for diving into that magical world of chips and sounds.
One slight detail: synthesizers are expensive. As a typical stingy student with no income, I cannot “waste” all my money in that. Fortunately, I’ve always shown interest in electronics, too, and that made me decide to try to make my synth by myself. Unfortunately, I’ve never studied electronics properly. This project is, therefore, the coolest occasion I have to learn something I’ve always wanted to know.
Obviously, since life can’t be too easy, I couldn’t find a proper series of tutorials to fully build a good (and cheap) synth. That’s why I decided to create my own on this blog: this is the start of a series of posts, aiming to be a guide for everyone out there who wants to build their first DIY analog synth. Since I’m a newbie in the synth world, you will have a chance to learn things with me, without skipping any step.
This post is just to lay down the ideas and sketches I have in mind for my synthesizer. In the next ones, we will look at the physics and maths prerequisites needed to understand what we will be doing. Then we will start building the first modules. Let me specify that since I’m new to this my workarounds won’t probably be “industry standards”, but they will surely work for people starting with analog music.
Modular synthesizers
According to Wikipedia, a synthesizer is a musical instrument that generates audio signals that may be converted to sound. Generally speaking, nowadays, synths can be either analog or digital (sometimes a mixture of the two). In the first case, the sound is generated and processed by “simple” circuits, logic gates and transistors. In the latter, the sound is generated or processed by computers or microprocessors.
I’ve never been a fan of computers in music and that’s why I’ve opted for an analog synth (even if you can find an old post about a digital synth, that was because of my lack of money :P).
Analog synthesizers can then be “modular”: in that case, sound generation and processing are split in different modules, each of them with a different simple function. Modules are then chained together with so-called “patch cables”. This setup, apart from looking extremely cool, allows you to buy, sell and make different modules for your need, to exchange them when not being used and, generally speaking, to have complete control over the sound.
There are different standards for module sizes (more on that here), but since I will build my case, I’ve decided to make my modules 20cm tall, so that they are not extremely bulky but big enough for cheap components and easy soldering.
The design
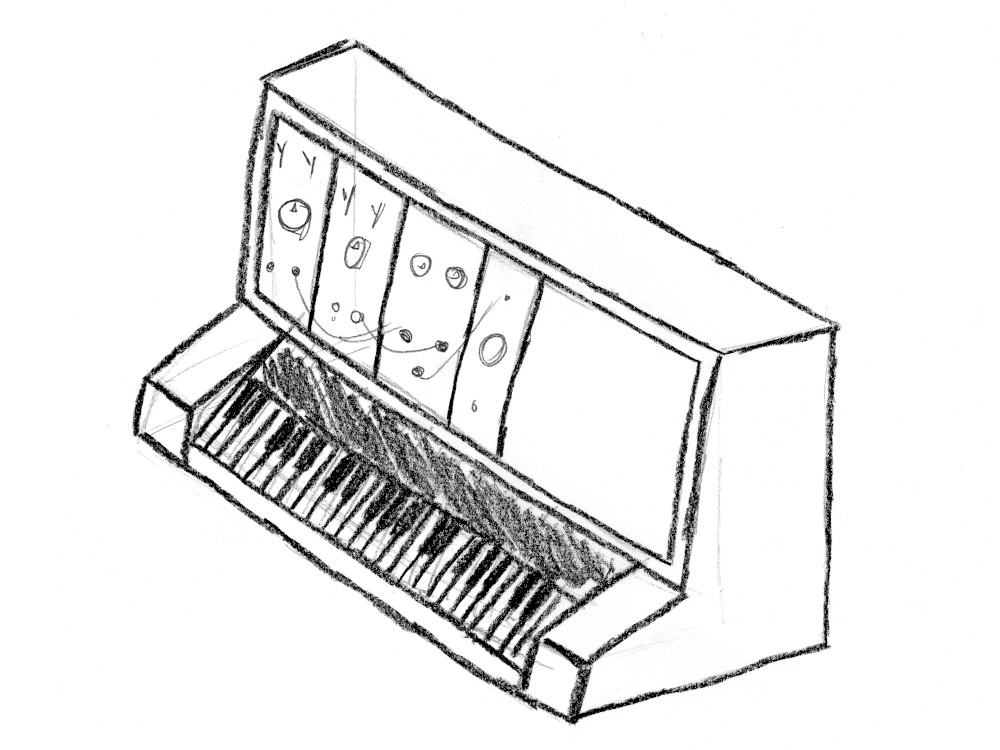
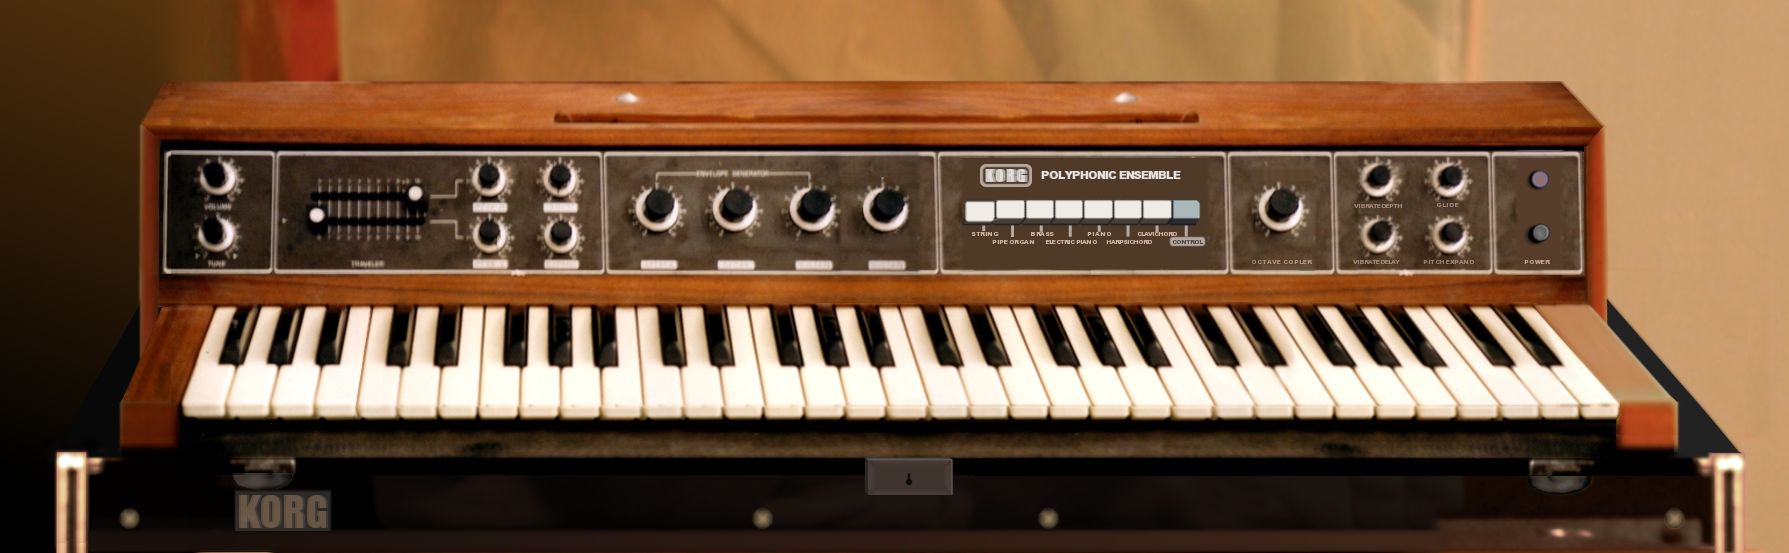
I’ve sketched a simple idea for the design. Looking at that you’ll understand why I’m not an artist. As you probably noticed, it resembles the look old synths had (pics below), with a modular element like the Korg Matriarch but with removable modules, like a standard EuroRack synth.
The minimum amount of modules I want consists of two oscillators, an envelope generator, a low pass filter, a small mixer for blending the two oscillators and a simple reverb. If you don’t know what I’m talking about don’t worry: we will look at each of them in depth.
For what regards the keyboard I think the cheapest option is to find an old (maybe broken) kid keyboard and to convert that with an Arduino Uno.
The only thing I will probably waste money on is a good looking wood for the case, but I can start with some cheap plywood. The modules will have an aluminum panel and I will use 3.5-inch patch cables.
I will share with you the links for buying every component I’ll use, so that you can follow along with the building process.
If you have any question or request the comment section is perfect for you. If you are excited by the project please consider sharing on social media.

.jpg)